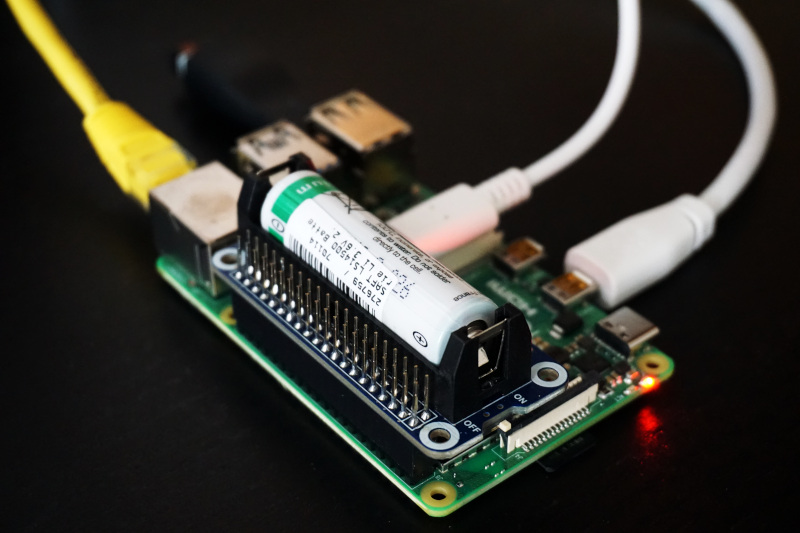
I’ve just got a brand new Raspberry Pi 4. For now I’m just playing around a bit with it. Until openSUSE Leap will be available, I’m using Raspbian Buster which comes by default with ext4. Since I want to have snapshots, the first thing I want to do is to convert the existing root partition into btrfs. So let’s do this.
0. Get Raspbian
First, flash Raspbian to a SD card and boot it. I also recommend to run a system update after booting into Raspbian. There are plenty of tutorials on the internet, that are probably far better than what I can write.
1. Prepare initramfs
In Raspbian btrfs is included as module. In order to make the kernel mount a btrfs root filesystem, we need to build the corresponding initramfs. First install the necessary tools
sudo apt install initramfs-tools btrfs-tools
Now we add the btrfs module to /etc/initramfs-tools/modules
$ vi /etc/initramfs-tools/modules
btrfs
xor
zlib_deflate
raid6_pq
Next is to build the initramfs
mkinitramfs -o /boot/initramfs-btrfs.gz
And tell the bootloader to load the initramfs, by editing /boot/config.txt
$ vi /boot/config.txt
# For more options and informations see
# http://rpf.io/configtxt
# Some settings may impact device functionality. See link above for details

initramfs initramfs-btrfs.gz

[...]
And then reboot the device, to check if everything is set up properly.
If the boot succeeds, shutdown the Raspberry and take the SD-Card to another computer. If you run at this stage into trouble, probably a filename is wrong and you should be still able to recover. Otherwise: Just start from scratch - at this point really nothing is lost.
2. Convert ext4 rootfs to btrfs
In my case I insert the SD card into my laptop. The SD card gets recognised as /dev/mmcblk0 and contains the following partitions:
$ fdisk -l /dev/mmcblk0
Disk /dev/mmcblk0: 7.48 GiB, 8017412096 bytes, 15659008 sectors
Units: sectors of 1 * 512 = 512 bytes
Sector size (logical/physical): 512 bytes / 512 bytes
I/O size (minimum/optimal): 512 bytes / 512 bytes
Disklabel type: dos
Disk identifier: 0x4301c17b

Device         Boot  Start      End  Sectors  Size Id Type
/dev/mmcblk0p1        8192   532480   524289  256M  c W95 FAT32 (LBA)
/dev/mmcblk0p2      540672 15659007 15118336  7.2G 83 Linux</code></pre>
To convert the filesystem to btrfs, we are now doing the following steps:
- Optional: Make sure, the rootfs is clean (
fsck) - Convert ext4 to btrfs using
btrfs-convert - Mount new btrfs root
- Edit
/etc/fstab - Edit
/boot/cmdline.txt
On my system, I have to do the following steps
$ fsck.ext4 /dev/mmcblk0p2                     # Optional but I recommend it
$ btrfs-convert /dev/mmcblk0p2                 # Convert ext4 root to btrfs
$ mkdir /mnt/sdcard                            # Here we will mount the rootfs
$ mount -t btrfs /dev/mmcblk0p2 /mnt/sdcard    # Mount newly created rootfs
Now we edit /etc/fstab and change ext4 to btrfs. We also need to disable the filesystem-check by setting the last two digits in the btrfs line to 0s
$ vi /mnt/sdcard/etc/fstab
proc            /proc           proc    defaults          0       0
PARTUUID=4301c17b-01  /boot           vfat    defaults          0       2
PARTUUID=4301c17b-02  /               btrfs   defaults,noatime  0       0
Lastly we edit /boot/cmdline.txt from the SD-Card. We need to replace rootfstype=ext4 to rootfstype=btrfs and set fsck.repair=no
# vi /mnt/sdcard/boot/cmdline.txt
dwc_otg.lpm_enable=0 console=serial0,115200 console=tty1 root=PARTUUID=a0683fcf-02 rootfstype=btrfs elevator=deadline fsck.repair=no rootwait
3. Now the fun starts
This is only the kickoff. Now the funny things, like subvolumes, snapshots ecc. start
Have a lot of fun! :-)
Caveats
- After a kernel update, you will need to run
mkinitramfsagain. Probably it’s the best to only do manual kernel updates (even as security updates) as otherwise your Raspi will not boot again.
Additional notes
Check those notes, in case something went wrong. Those emphasis the steps I had to to to make this work
- Fsck had cause me a lot of trouble. In case you run into mount invalid errors, check if you have disable fsck in
/etc/fstab(the last zero) and in/boot/cmdline.txt - Apparently
btrfs-convertdoesn’t change the UUID. If you find yourself with “device not found” or similar errors, this might has changed and you will need to change the UUIDs - After a kernel update you will need to run
mkinitramfsagain. Keep that in mind (and perhaps disable auto-updates)
Pitfalls
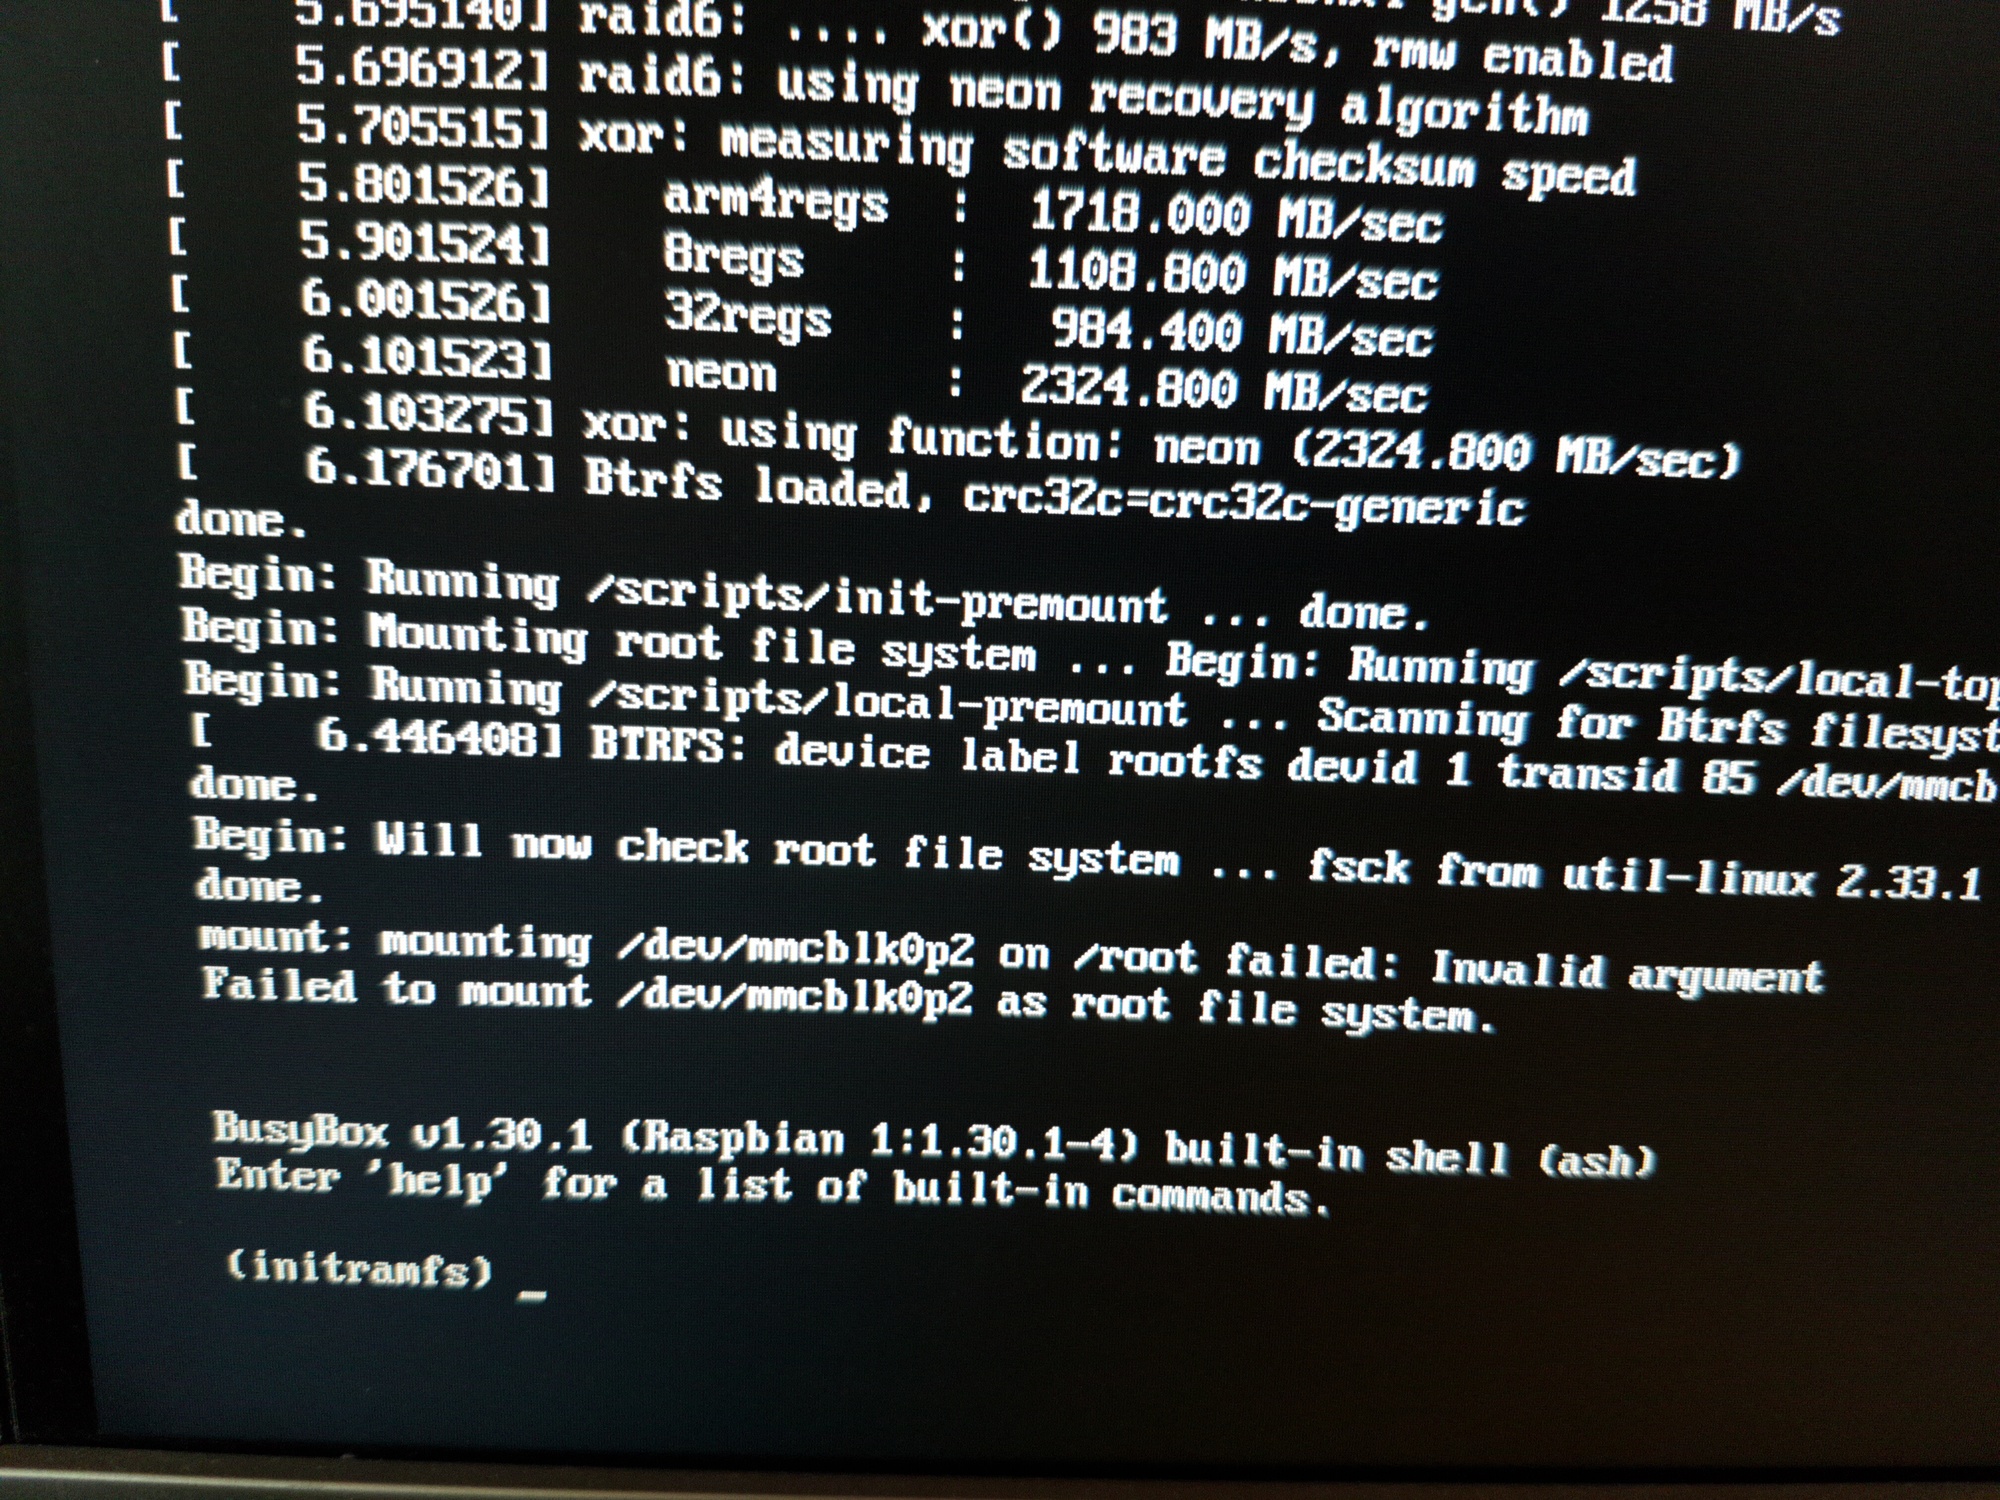
mounting /dev/mmcblk0p2 failed: Invalid argument
I got this error message when I forgot to edit cmdline.txt. Make sure, you have configured /boot/cmdline.txt correctly (double-check rootfstype=btrfs and fsck.repair=no):
dwc_otg.lpm_enable=0 console=serial0,115200 console=tty1 root=PARTUUID=a0683fcf-02 rootfstype=btrfs elevator=deadline fsck.repair=no rootwait
Update 2021-01-06
Updated a typo, it was vi /boot/cmdline.txt should have been vi /mnt/sdcard/boot/cmdline.txt. Thanks Frank!

