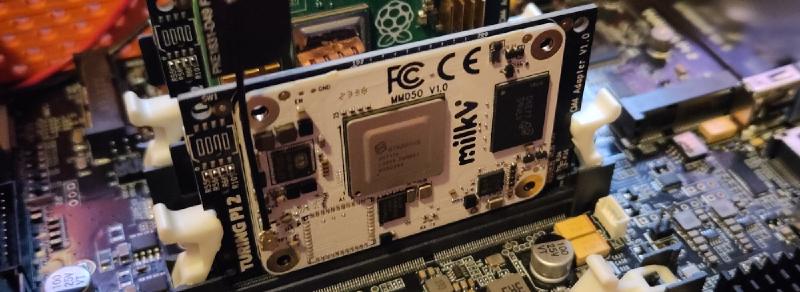
I recently got my Milk-V Mars Compute Module, that I plan to use as a RISC-V testing and development platform. This board is announced as compatible with a Raspberry Pi Compute Module 4, so it should integrate well with existing base- and clusterboards. For such a new board and platform I hoped to simply get a working prototype that somehow works. In just one evening I could set it up, run Debian on it and even get it running in my Turing Pi 2 Clusterboard with one of their CM4 Adapter boards.
The Milk-V Mars CM uses the Starfive JH7110, a quad-core 64-bit SoC clocked at 1.5 GHz. While direct comparison of clock speeds with other architectures are not expressive, because of the architectural similarities and comparable clock speeds one can expect similar performance than a Raspberry Pi 4. Actual performance depends however on the workload. Still this should be more than enough for my first steps on RISC-V and to run some tests on it.
The board advertises itself as “Compatible with Classic IO Board” (they mean the Raspberry Pi CM4 IO Board), so my hopes were that it would work with my Waveshare CM4-IO-BASE-A. I snap the board onto it, and it should just work.
A bumpy start
The unboxed board looks neat and very similar to a Raspberry Compute Module, which is expected. The only downside I found: The box points to milkv.io/docs/mars-cm as getting started document, which throws a 404. Nevermind, this is the CM of the milkv.io/docs/mars, so I just used the documentation for the Mars board, not the compute module. It looks like Mars-V is still working on the website, so that’s a small minus point but nothing that stops any modest user. The provided documentation for the Mars board does the job.

And after looking a bit through the documentation I found that currently only a pre-release build of Debian is available from github.com/milkv-mars/mars-buildroot-sdk/releases. This is fine, in the end this is still a development board, so I wasn’t expecting a super polished end-user experience.
And awesome first impression
I flashed the img file to a SD-Card:
xzcat mars-debian-202306-sd-minimal-desktop.img.xz | sudo dd of=/dev/sdb bs=4M oflag=sync status=progress
snapped the CM onto the Base Module:
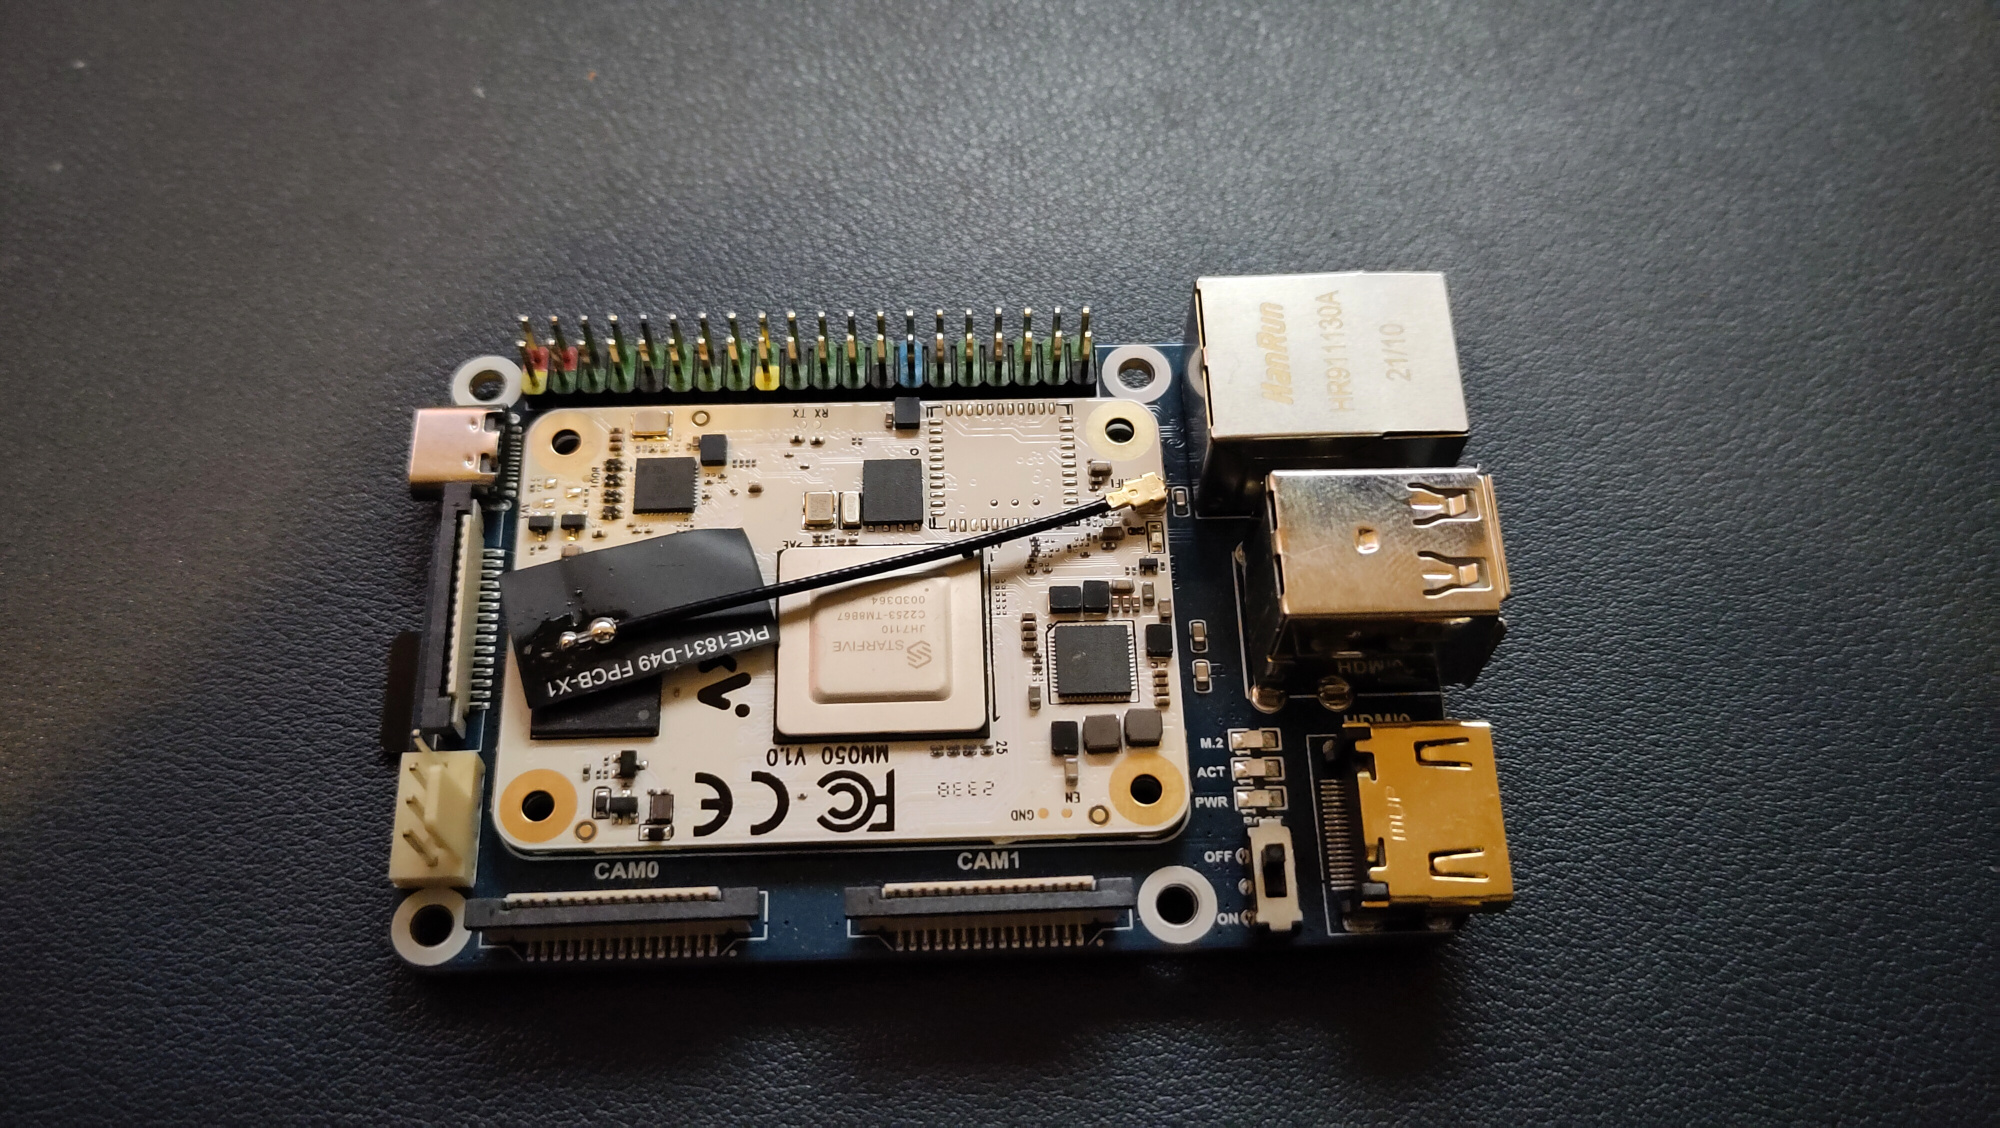
plugged the HDMI, USB peripherals (keyboard, mouse) for the KVM switch in the board, connected a network cable and gave it power. The LEDs started to light and the display showed a fancy and nice Milk-V logo.
Neat! Now let’s … oh we’re already booting. I see Linux kernel messages. And there’s … wait is this a Desktop?!? And there’s even Firefox?!??? How cool is that!

I most certainly didn’t expect to get a full GNOME Desktop on Bookworm with a working Firefox on this little fella. This blew my mind. I mean … That’s IMHO a high bar for a rather new architecture and development board to achieve. My hopes for the first attempt was to see maybe some kernel messages. I ended up having functional gigabit network, Full-HD display output via HDMI and a GNOME desktop with a freaking awesome Firefox on it.
Mind blown 🤯.
Inserting it into the Turing Pi 2
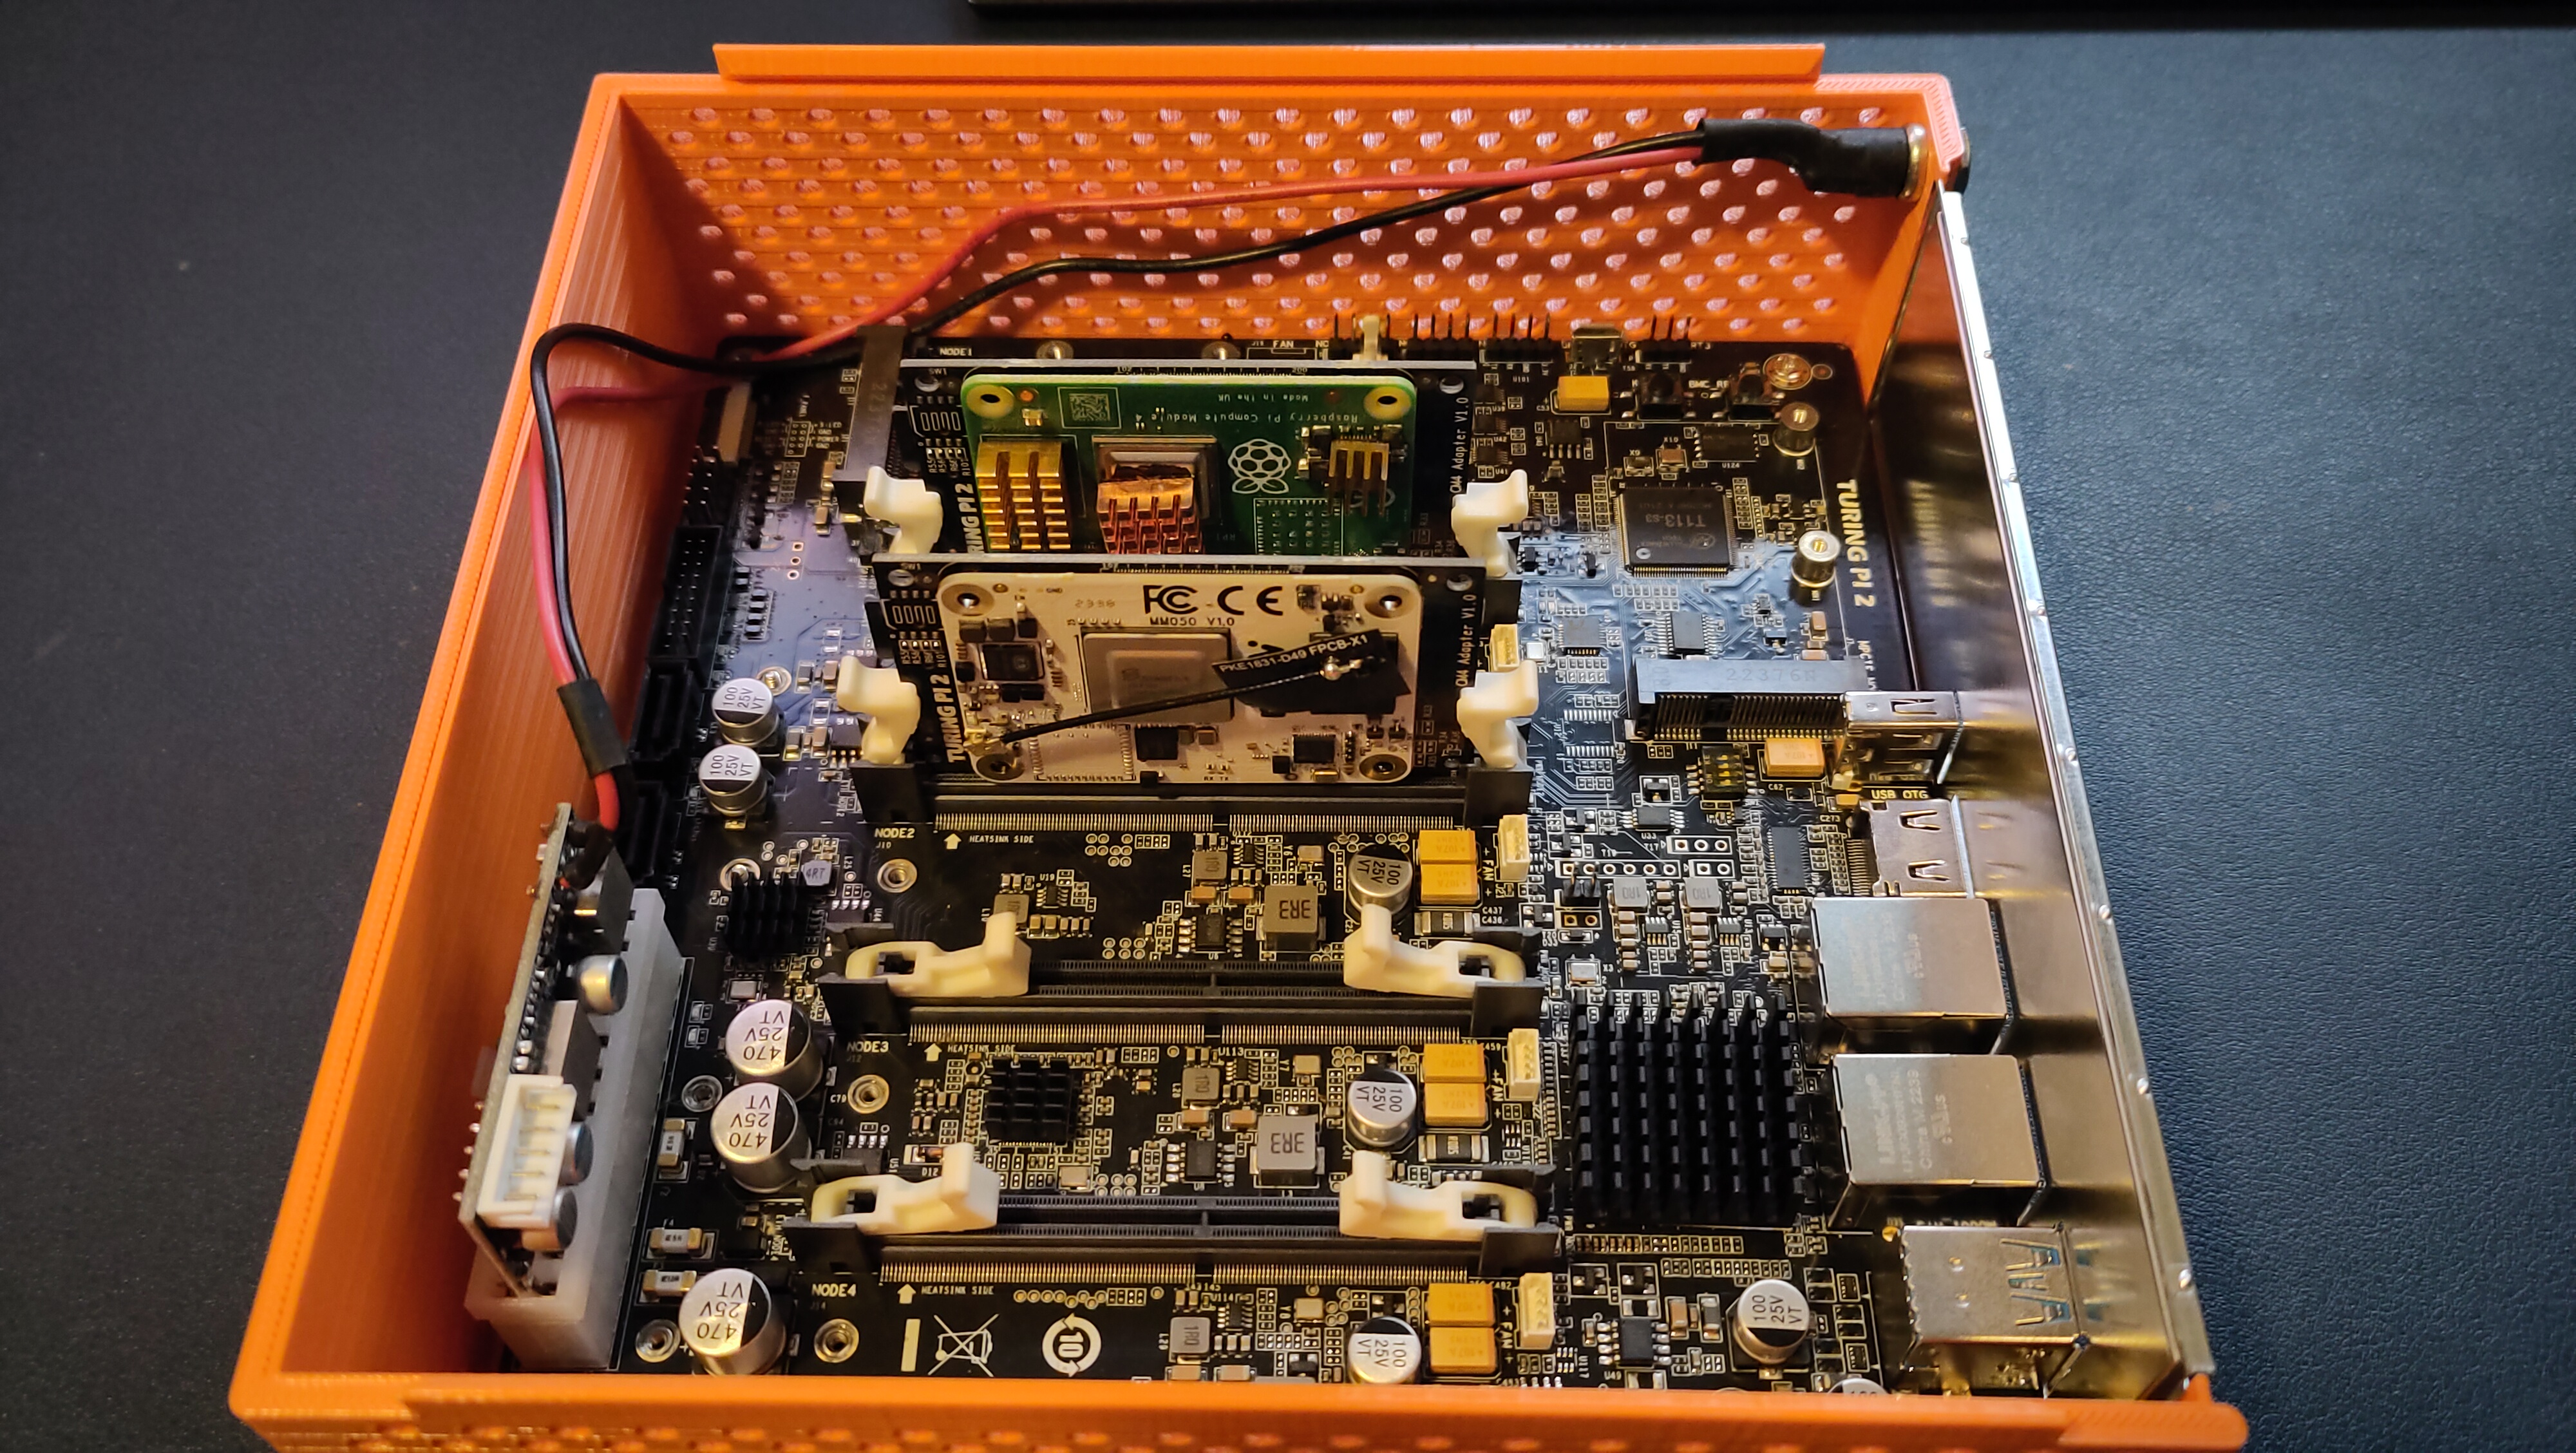
Motivated by the really easy setup until here, I was hopeful and gave my ultimate goal a try: Running this RISC-V board within my Turing Pi 2 cluser board.
I mean, theoretically it should. If it is CM4 compatible, and because Turing Pi provides the adapter modules, there is a chance it would just work.
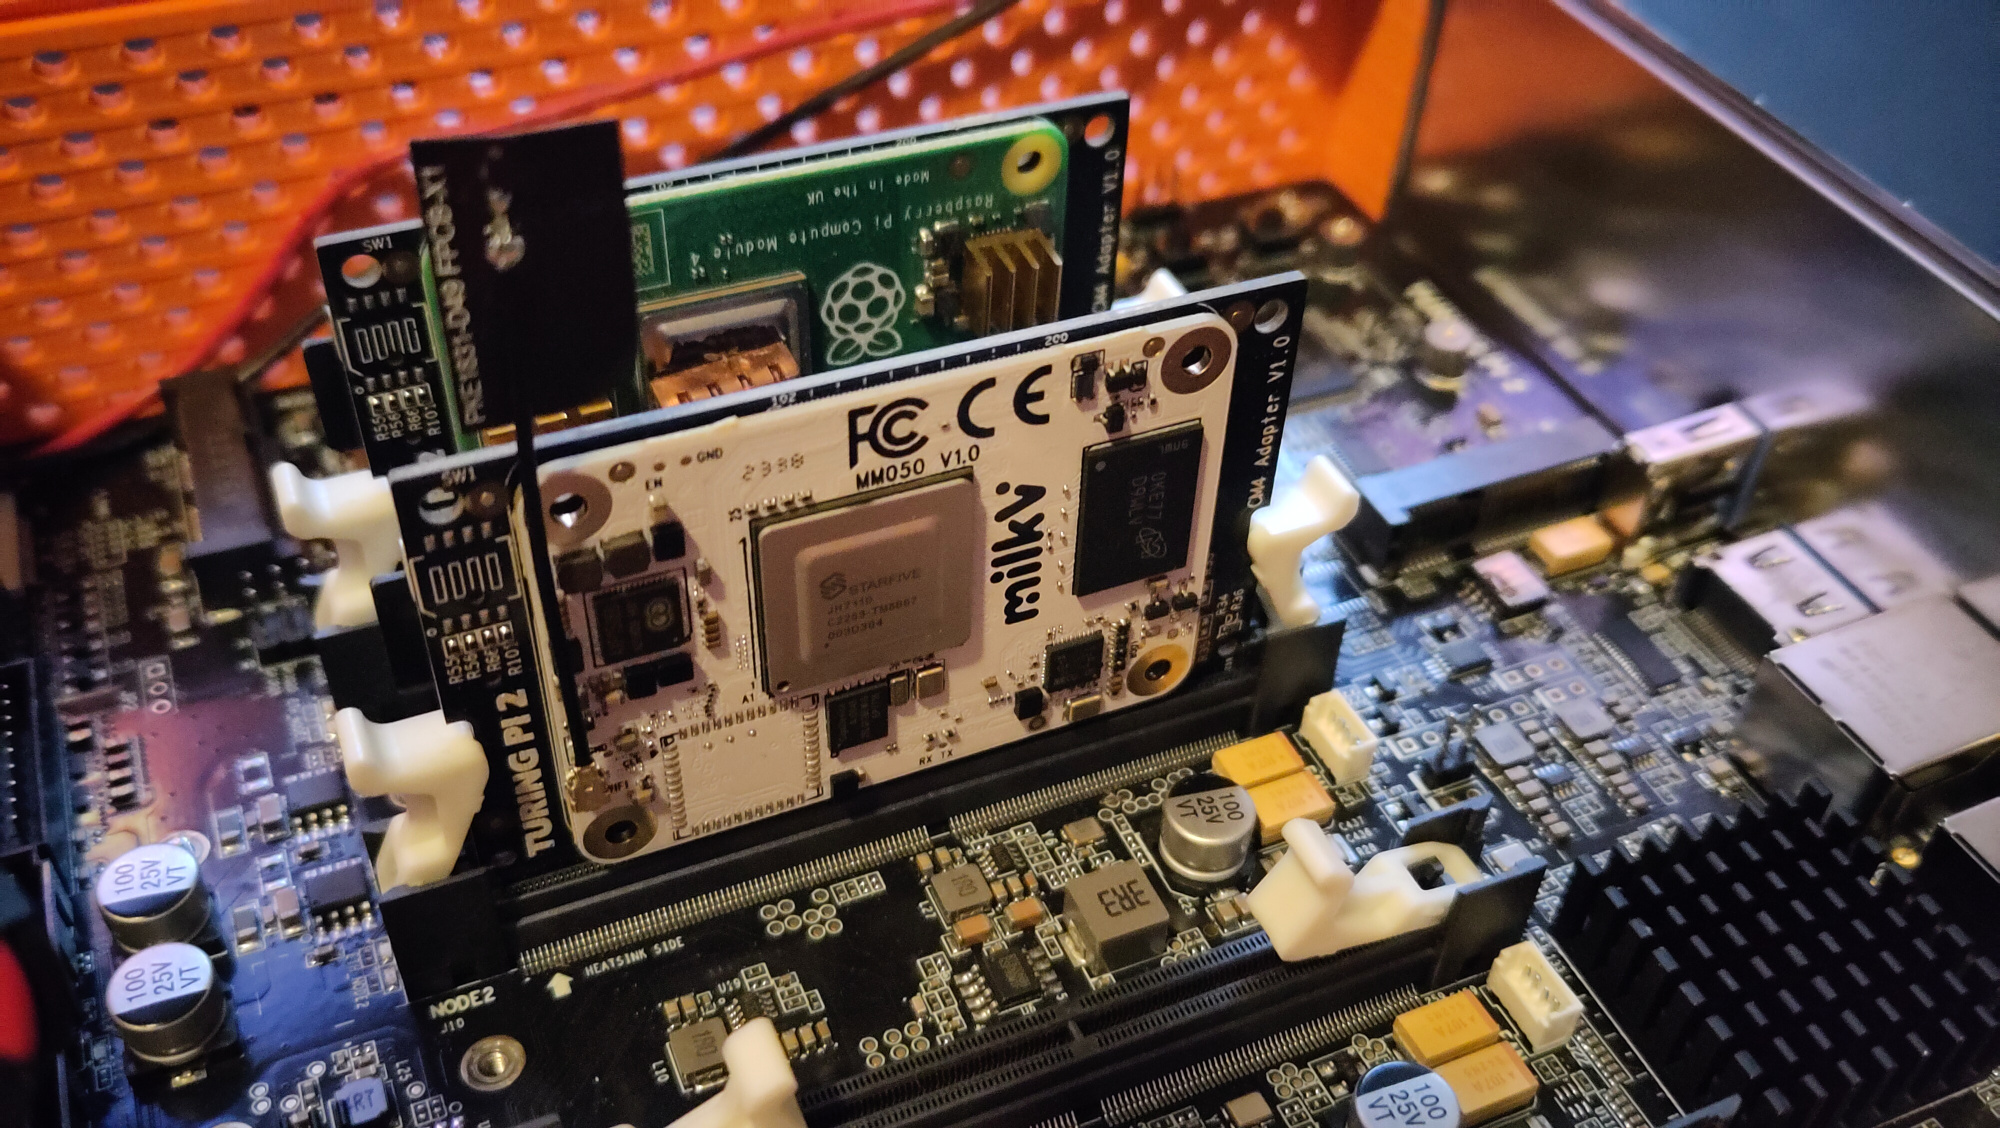
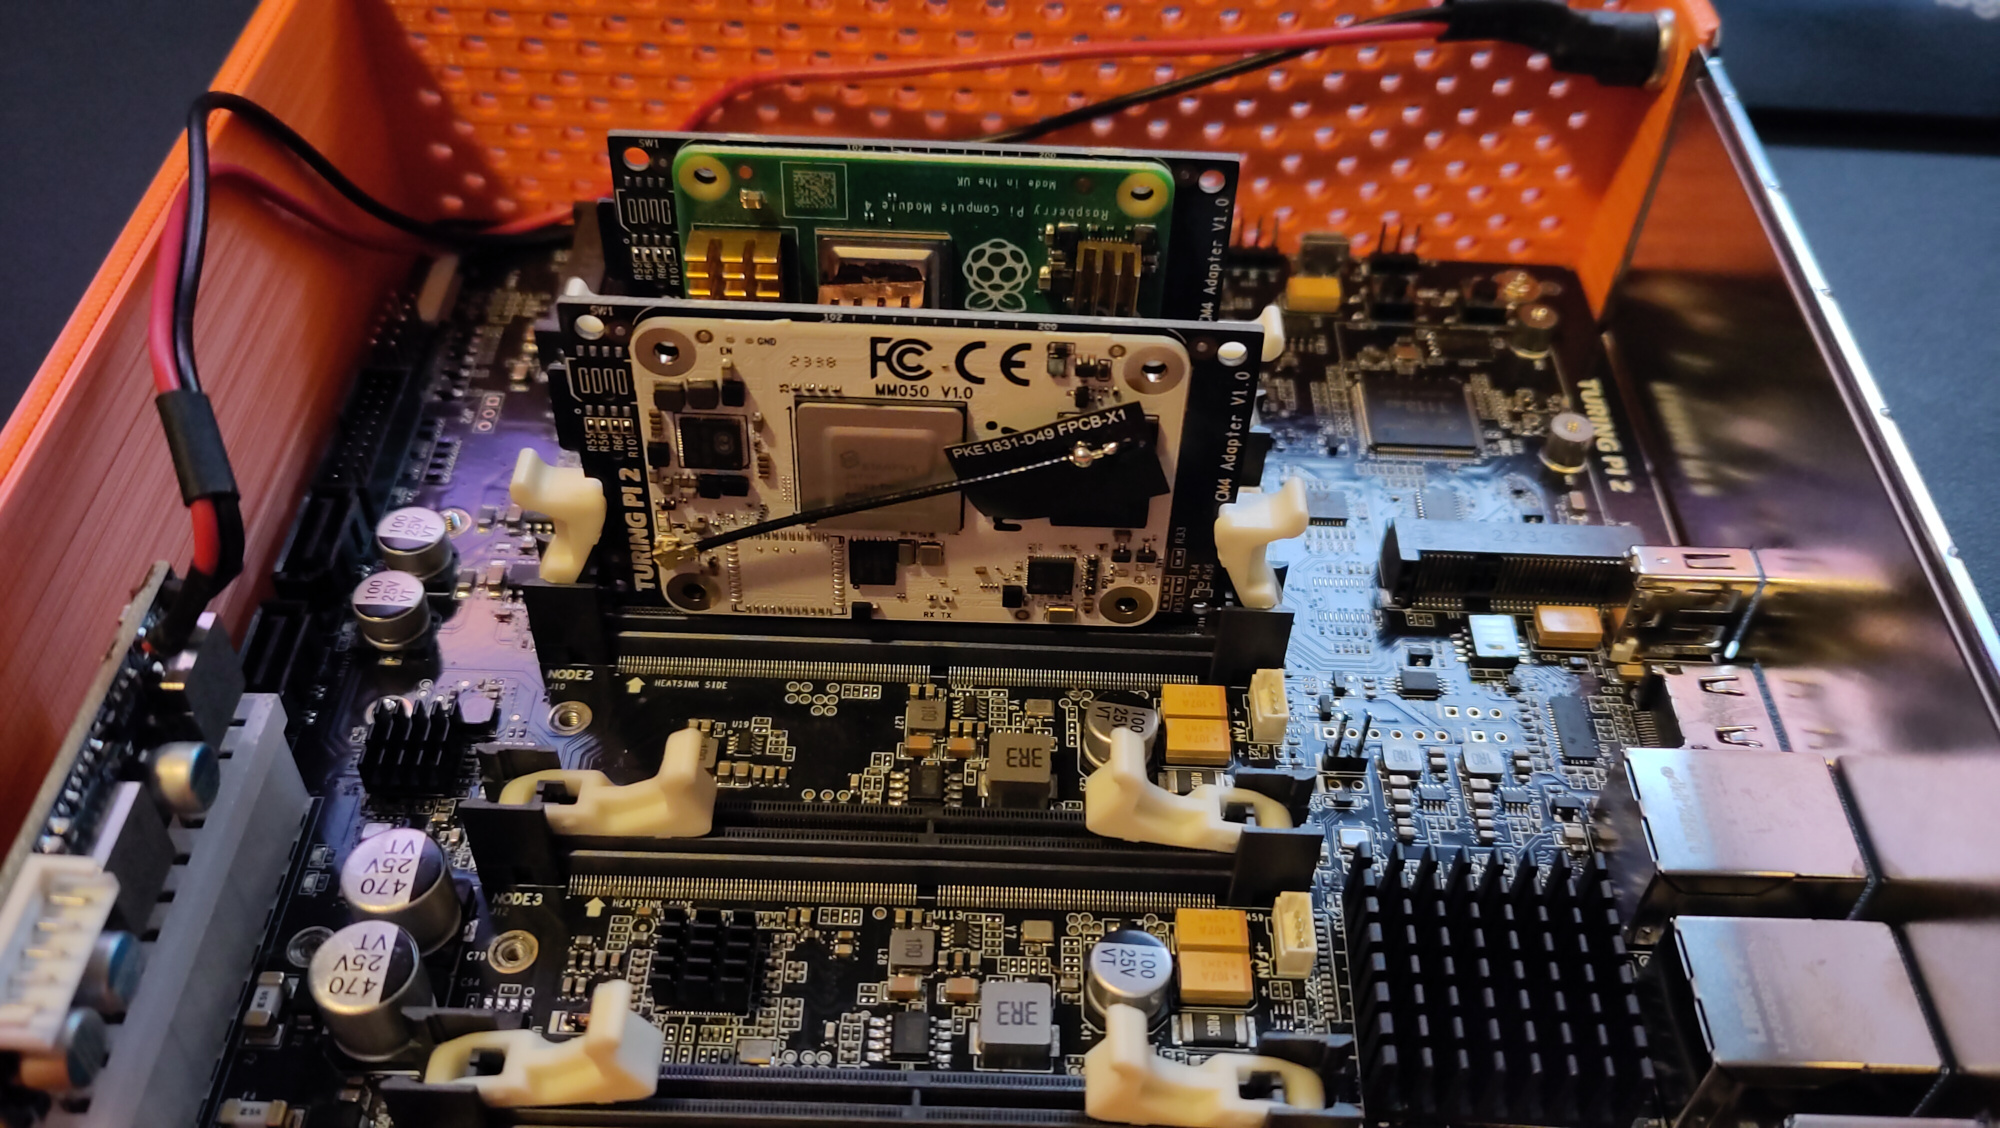
Long story short: It does. Without any complains. It really just works!
The longer story: In the previous step, after booting into the desktop on the Base board, I disabled the graphical systemd target. I knew that the system would anyways run headless in the Clusterboard, so no need to waste resources on a Desktop, which is anyways not needed. My router is configured to hand the board always the same IP address, so I waited a short time, and could just ssh into the board. The board really just boots and everything works fine. A try-out nginx server serves an empty but correct index page, and that’s all what I wanted.
I never though I would get this far on a Friday evening. This is freaking amazing! 🤯🤯🤯
And here another picture, of my Turing Pi 2 Clusterboard, with it’s 3d printer case:
Next steps
From here, only the sky is the limit. I want to see if I can get openSUSE running on this fella, the eMMC is something I have not seen yet in lsblk and also the attached NVME disk does not yet show up. Still, while there is space for improvement, for the first steps this is already very good.
I hope this board helps me to better understand and work with RISC-V. So far I am really happy.
Cheers.
