Recently the holder of our ombrometer (rain measurement device) broke (again). We fixed it already some time ago by applying ridiculous amount of hot glue, but for some reason it didn’t hold. Probably not enough hot glue (did I already mention we used a ridiculous amount?).
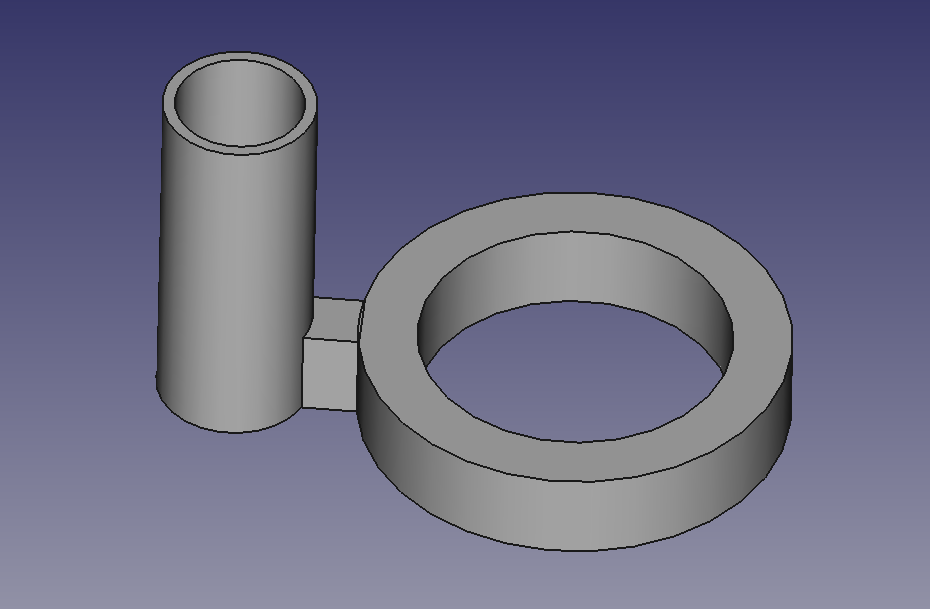
I wanted to fix it properly this time, and it seemed a good job for 3d printing a new holding ring. The model appeared simple to me, and thus a good candidate for trying out FreeCAD and 3d modelling. One rainy Sunday afternoon and some YouTube tutorials later, I had my first own designed 3d model, which I could feed into our 3d printer.
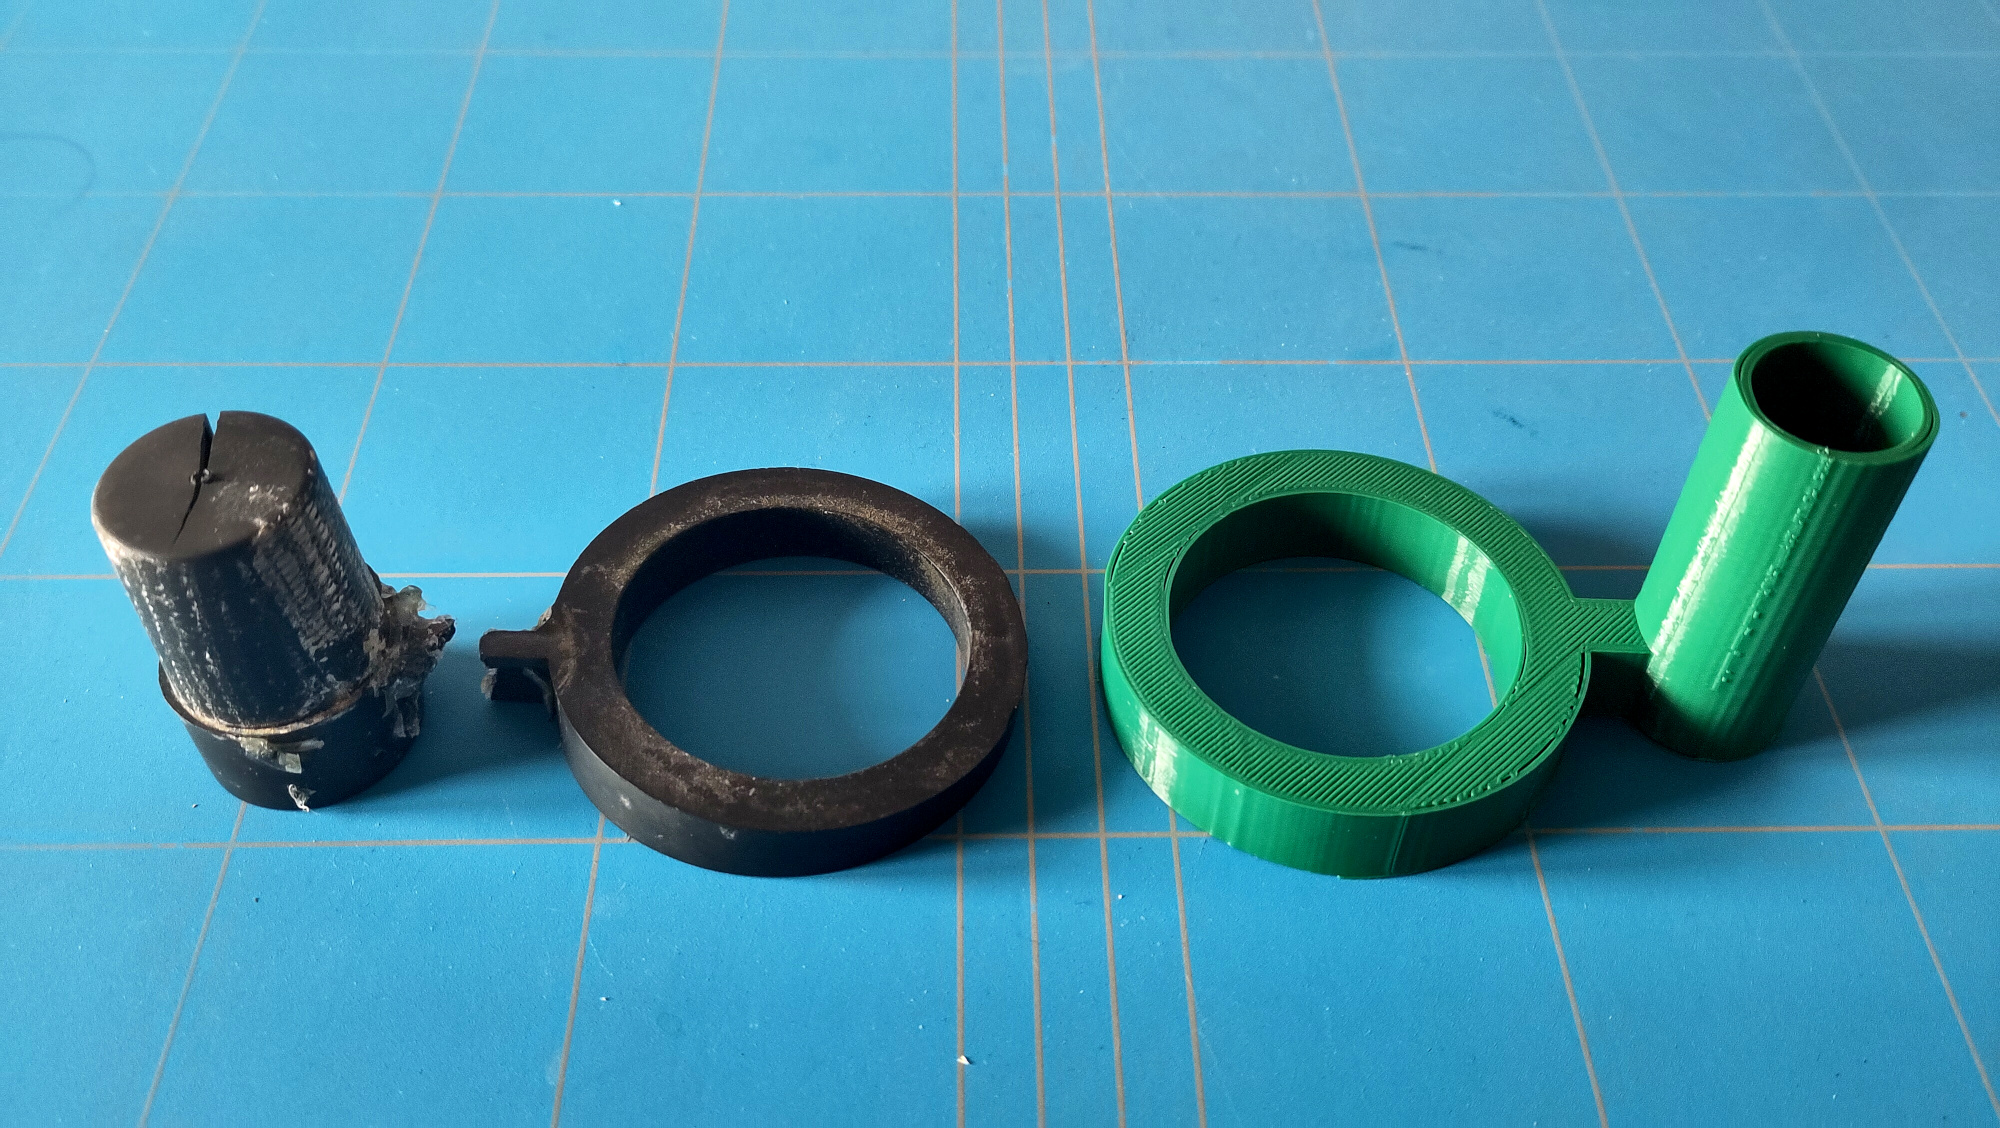
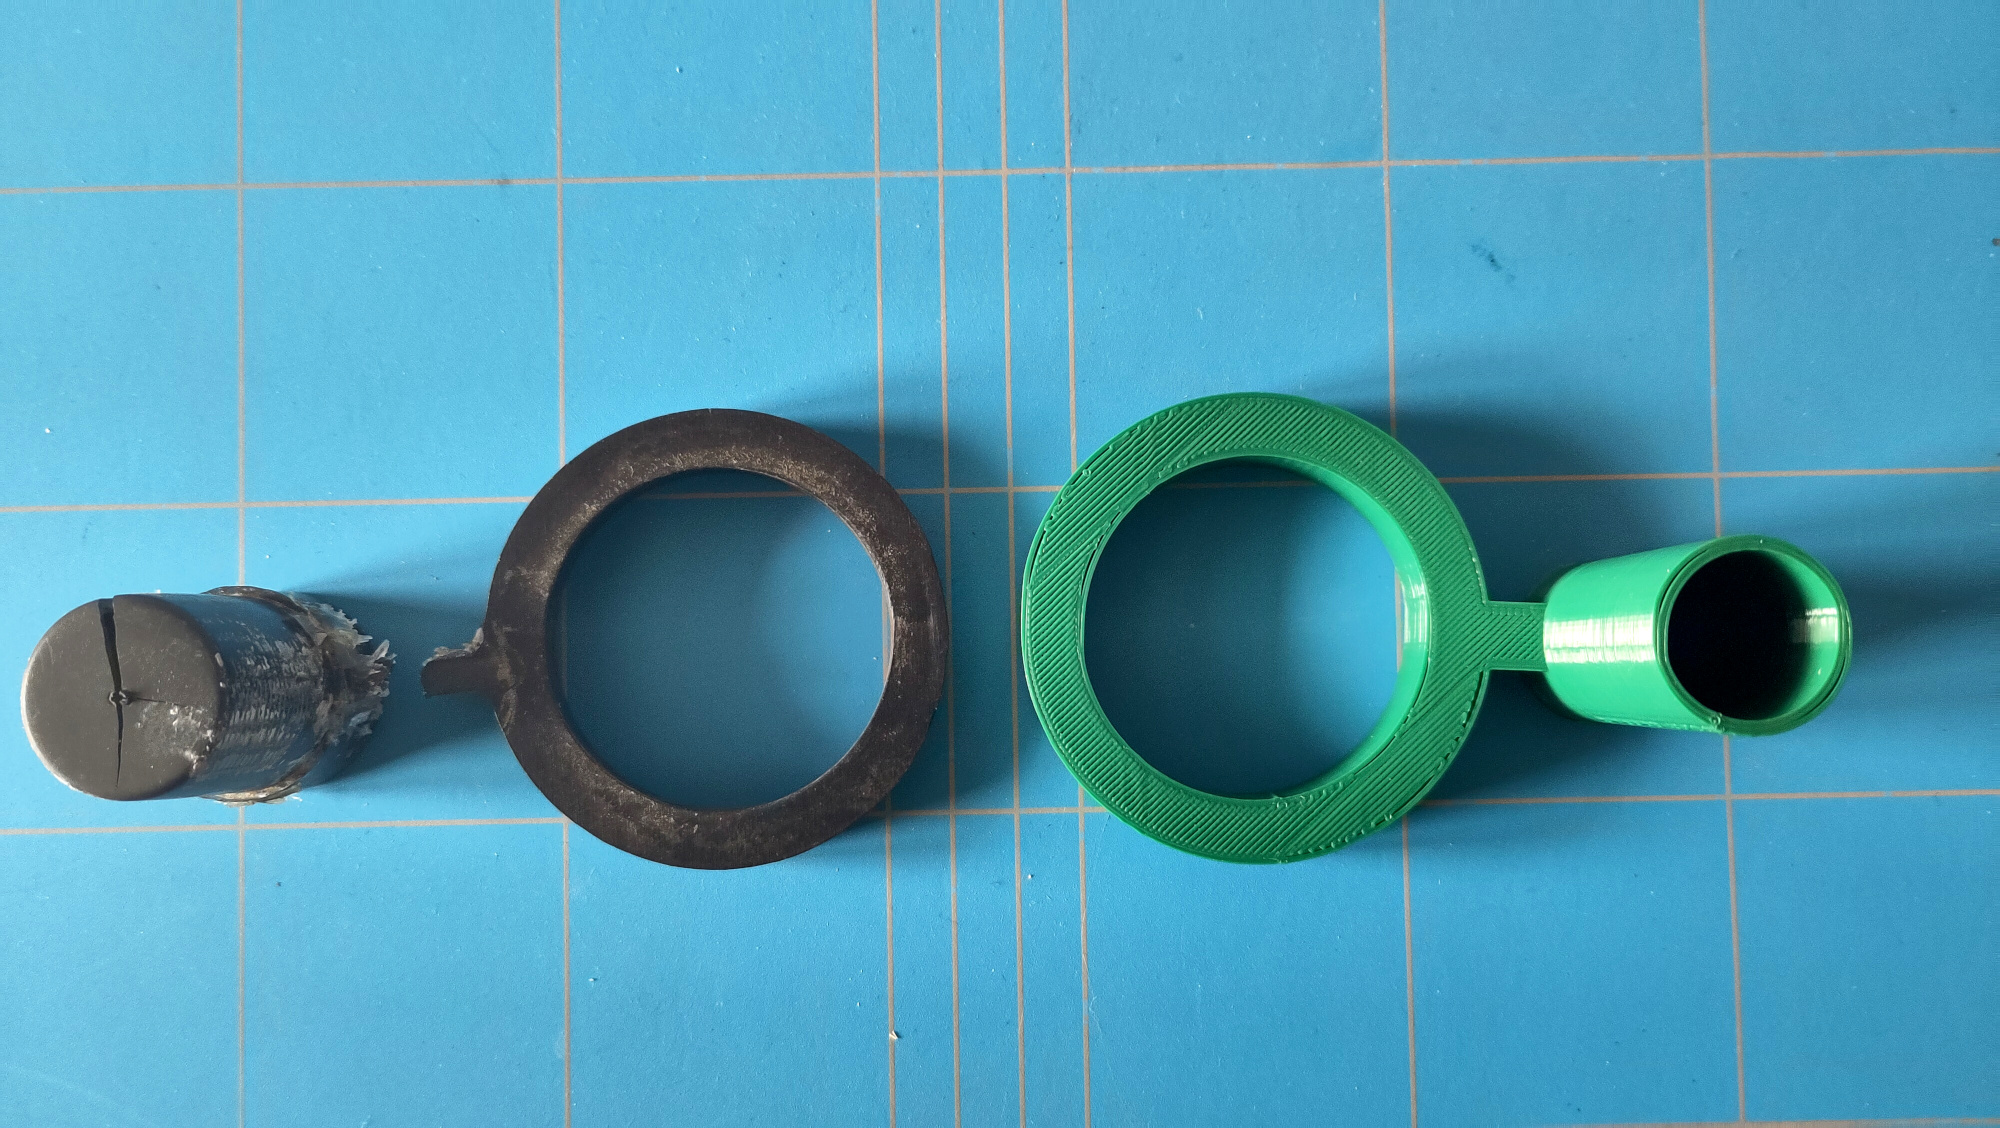
This is how the broken one (black) and the 3d printed new one looks like, next to each other:
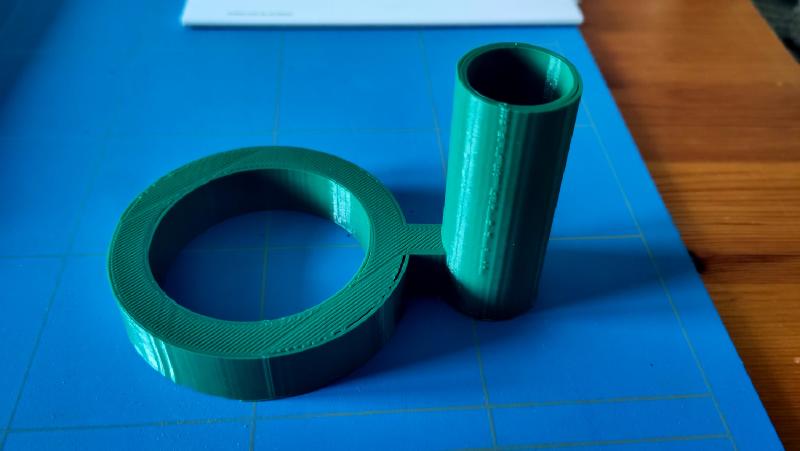
The print itself took about 2h and was really easy and simple. I used PLA, as for all of my prints so far. A two year old Windmill which stands in our garden shows to me, that the material is robust enough for the environment in which this ring will also be. Also I designed it thick enough (I hope) to withstand every weather we will encounter.
After some minor cough adjustments to the wooden stick holder, this is how it looks like after being applied
Side note: The algae in the lower parts came from a week of neglect when we have been on a vacation. They will go away after the current rain period.
Model files
The model itself is really simple. The FreeCAD and stl files are also here available